


How to Replace Thermostat in Car: A Complete Guide for Chicago Drivers
Replacing a thermostat might seem intimidating at first, but it’s one of the most practical upgrades a car owner—or a homeowner—can do to improve energy efficiency and comfort. Whether your thermostat is failing to regulate temperature properly or you’re upgrading to a smart model, knowing the process can save time, money, and frustration.
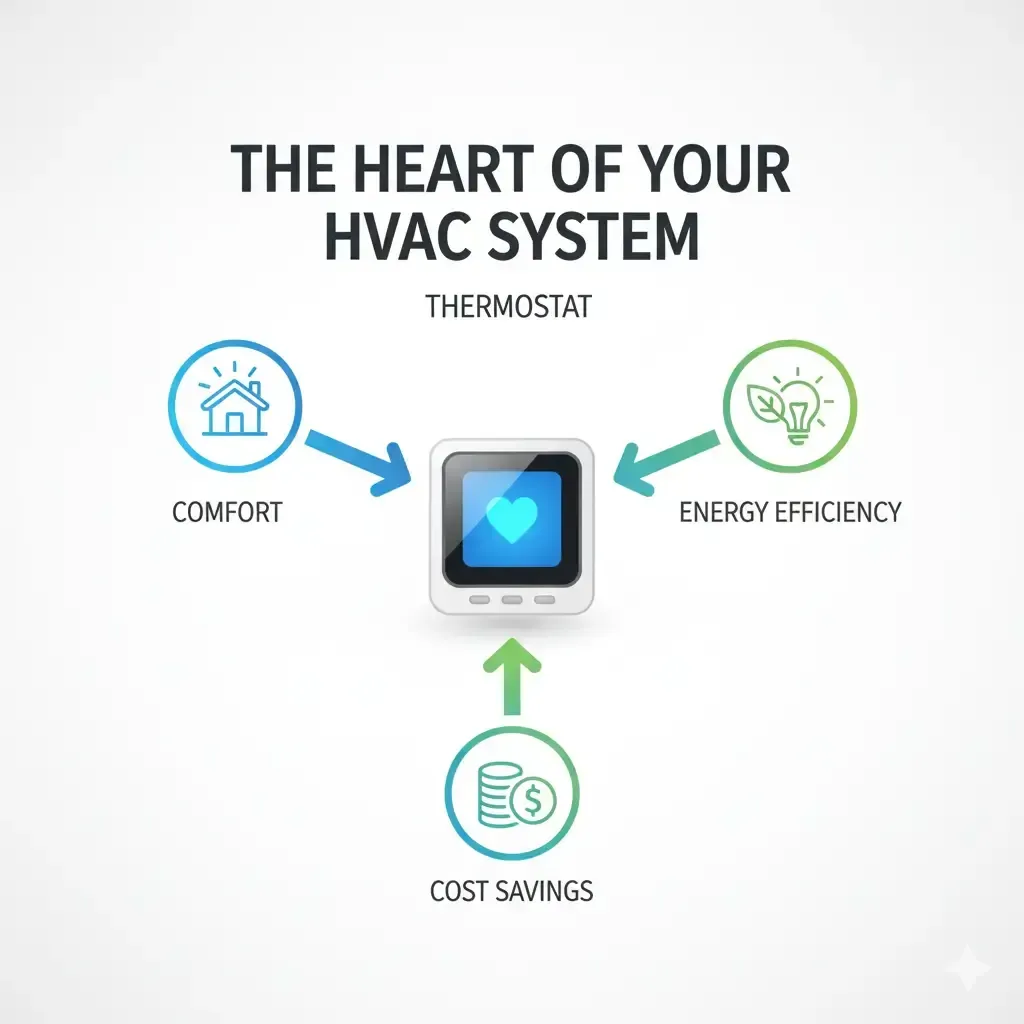
As someone who has worked on countless vehicle HVAC systems at Austin Auto Repair, I’ve learned that a thermostat’s role is far more important than people realize. It’s not just about turning the heat or cooling on—it’s about efficiency, accuracy, and long-term system reliability. Let’s go step by step through the entire process, so you can decide whether to handle this yourself or call in a professional.
Understanding the Thermostat’s Role
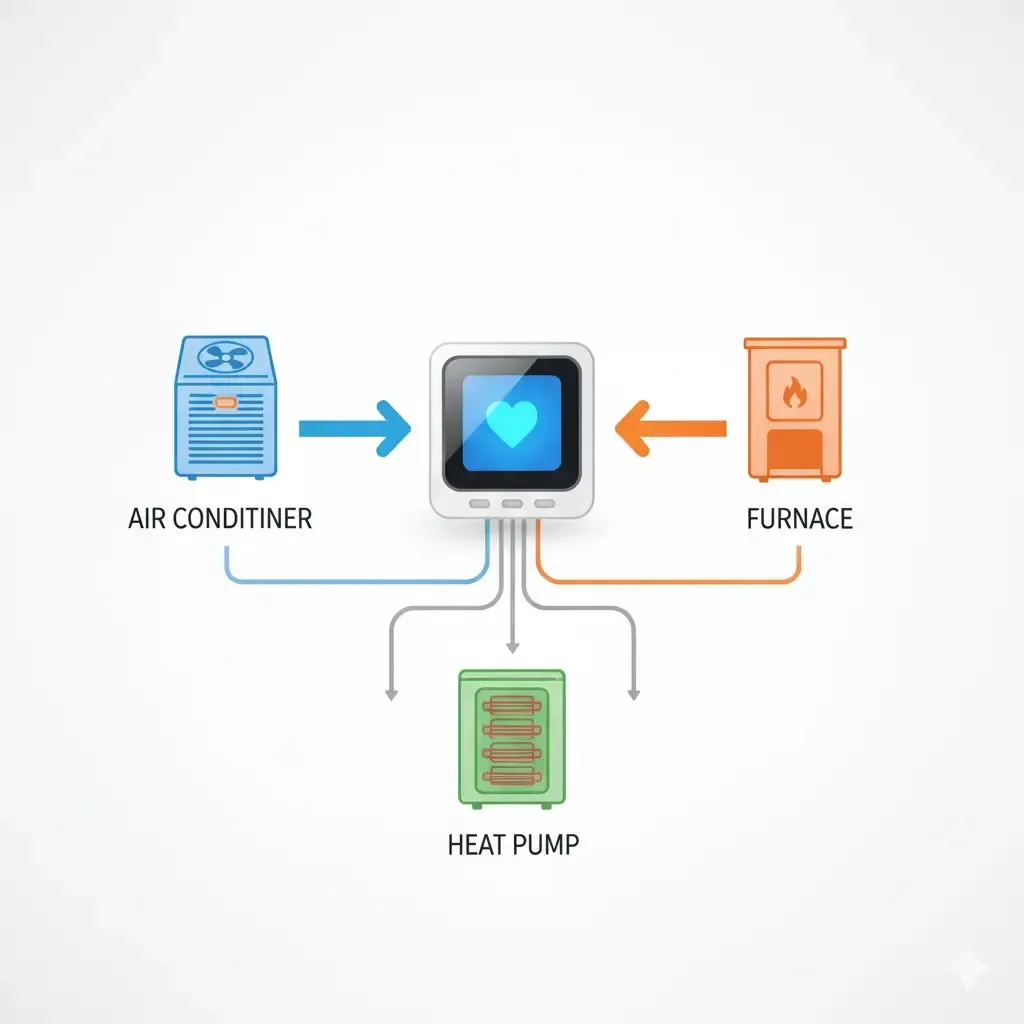
Before replacing anything, it helps to understand what a thermostat actually does. A thermostat is the control center for your HVAC system—it communicates with your furnace, air conditioner, or heat pump to maintain the desired temperature.
When your thermostat malfunctions, your system may short cycle, run continuously, or fail to respond at all. Sometimes the problem is just batteries, but other times the internal wiring or mounting plate becomes corroded or loose.
If you’re noticing inconsistent temperatures, delayed heating or cooling, or your digital display going blank, replacement might be your best option.
Step 1: Identify Your System Type
Not all thermostats work with every system. Before removing anything from the wall, check what kind of setup you have.
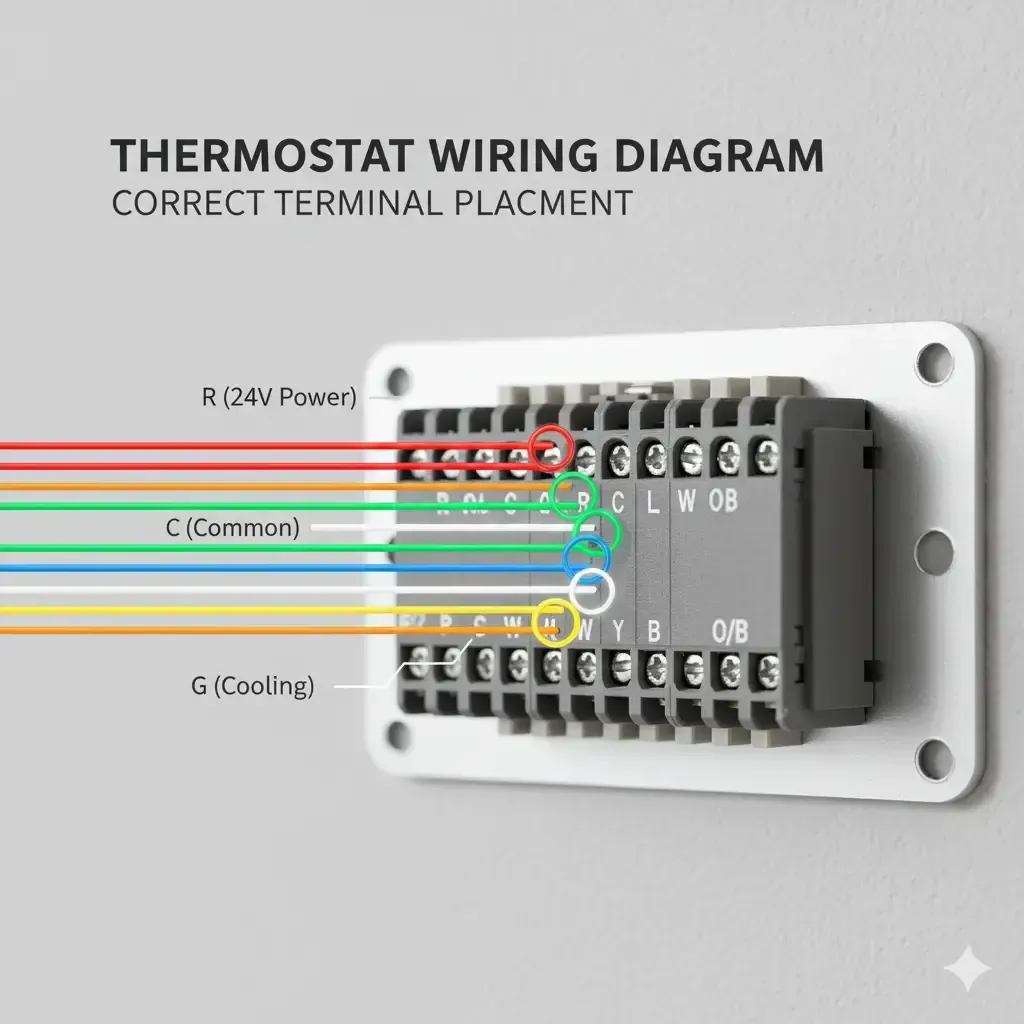
- Low-voltage systems (24V): These are common in most homes with central HVAC systems. They include multiple wires—labeled R, W, Y, G, and sometimes C (C-wire).
- Line-voltage systems (120/240V): Common in baseboard heaters and radiant systems. These use thicker wires and carry a higher voltage.
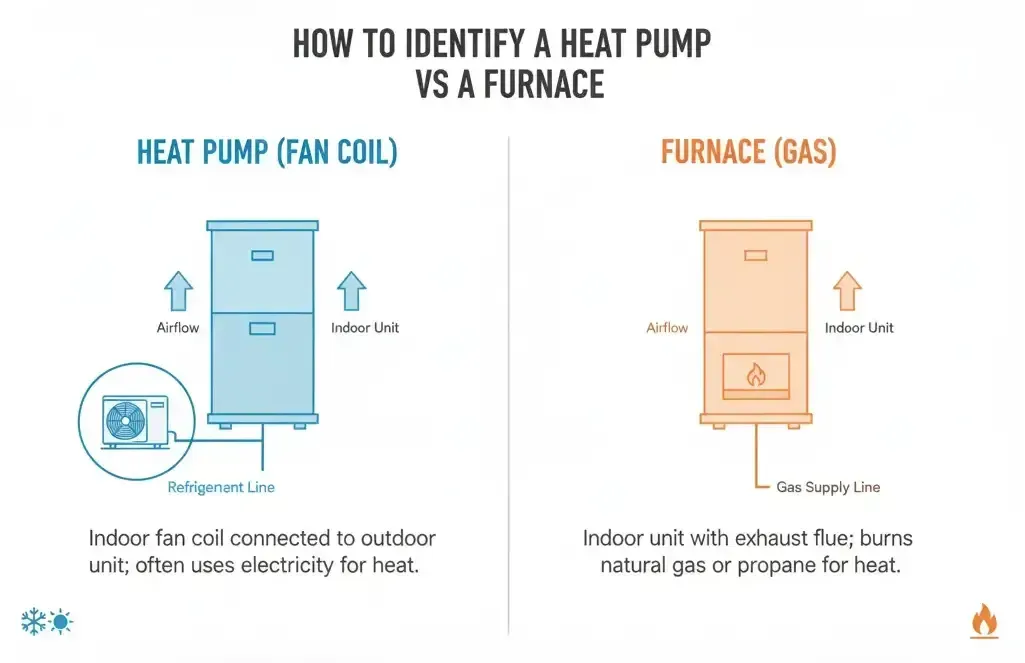
If you have a heat pump, you’ll also see an O or B terminal. Each wire controls a different function, and identifying them correctly is crucial before you begin the installation.
Take a clear picture of your wiring setup before disconnecting anything. That single step can save you hours of troubleshooting later.
Step 2: Gather the Right Tools and Materials
Having the right tools can make your thermostat replacement quick and stress-free.
You’ll need:
- Screwdrivers (both Phillips and flathead)
- Drill and wall anchors
- Level
- Wire stripper
- Needle-nose pliers
- Mounting plate for the new thermostat
- User manual or installation guide
- Optional: Voltage tester for extra safety
Keep labels or tags handy to mark wires as you disconnect them. If your thermostat uses batteries, make sure you have replacements on hand before sealing everything up.
Step 3: Power Down the System
This step is non-negotiable. Always shut off the power to your HVAC system at the circuit breaker or fuse box. Working on live wires can short the control board or blow a low-voltage fuse.
Even if the system is low-voltage, treat it as if it’s high-risk. I’ve seen homeowners damage their HVAC controllers simply because they forgot to turn off power before removing their thermostat.
Step 4: Remove the Old Thermostat
Once the power is off, remove the digital screen or faceplate. You’ll usually find mounting screws underneath.
Before disconnecting the wires:
- Label each one based on its terminal letter (R, W, Y, G, C, etc.).
- Photograph the wiring diagram for reference.
- Use needle-nose pliers to gently pull wires free without twisting.
Once disconnected, unscrew the mounting plate and clean the wall area. If there are large holes, you can patch them or cover them with the new plate.
Step 5: Mount the New Thermostat
Position the new mounting plate on the wall using a level to ensure proper alignment. Mark the screw holes, then drill and insert wall anchors for stability.
Feed the labeled wires through the center of the plate before securing it to the wall.
Step 6: Power Up and Configure the Thermostat
Flip the breaker switch back on and watch for the thermostat to light up. Follow the on-screen setup instructions or use the included user manual to:
- Select your system type (heat pump, single-stage, or multi-stage)
- Configure heating/cooling schedules
- Connect to Wi-Fi (for smart models)
- Calibrate the temperature reading
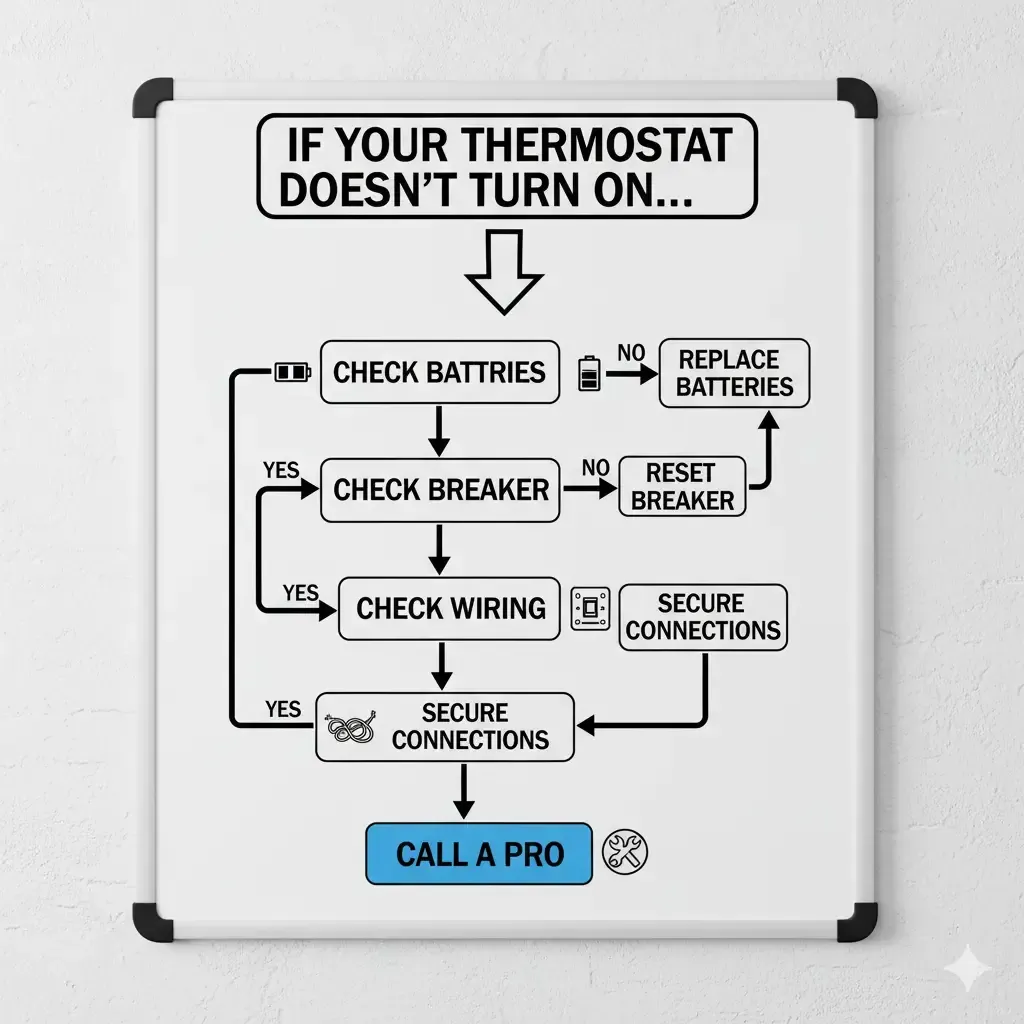
If your thermostat doesn’t turn on, recheck the wiring or replace the batteries.
Step 7: Test the System
Once everything is set up, it’s time to test. Turn on heating, cooling, and fan modes to make sure the system responds correctly.

If the air doesn’t heat or cool as expected:
- Double-check the wiring diagram you photographed.
- Ensure each wire is in the correct terminal.
- Confirm the HVAC system is receiving power.
Testing takes only a few minutes but confirms that your replacement was successful and safe.
Troubleshooting Common Issues
Even a simple thermostat installation can have hiccups. Here are the most common issues I’ve seen at Austin Auto Repair and their quick fixes:
- Thermostat won’t turn on: Check for tripped circuit breakers, blown fuses, or a disconnected C-wire.
- HVAC system not responding: Ensure the G, R, and Y wires are firmly connected.
- Display blank or flickering: Replace batteries or re-seat the digital screen.
- Inaccurate temperature: Use the calibrate or “offset” setting to fine-tune the reading.
If these don’t work, consult the user manual or call a professional.
DIY or Professional Installation: Which Is Right for You?
Replacing a thermostat is usually a DIY-friendly task if you’re comfortable with basic tools and wiring. But there are times when hiring a professional contractor makes more sense.
DIY replacement is ideal when:
- You have a simple low-voltage system.
- The wiring is clearly labeled and intact.
- You’re replacing a thermostat with the same type.
Call a professional if:
- Your system is line-voltage (120/240V).
- The wires are damaged or missing.
- You’re upgrading to a smart thermostat and lack a C-wire.
- You want to avoid voiding your system warranty.
From my own experience, many customers try to install smart thermostats themselves, only to discover they lack the common wire needed for constant power. Calling a licensed technician prevents further damage and ensures safety.
Cost Breakdown: DIY vs. Professional
Understanding the cost helps you make an informed decision.
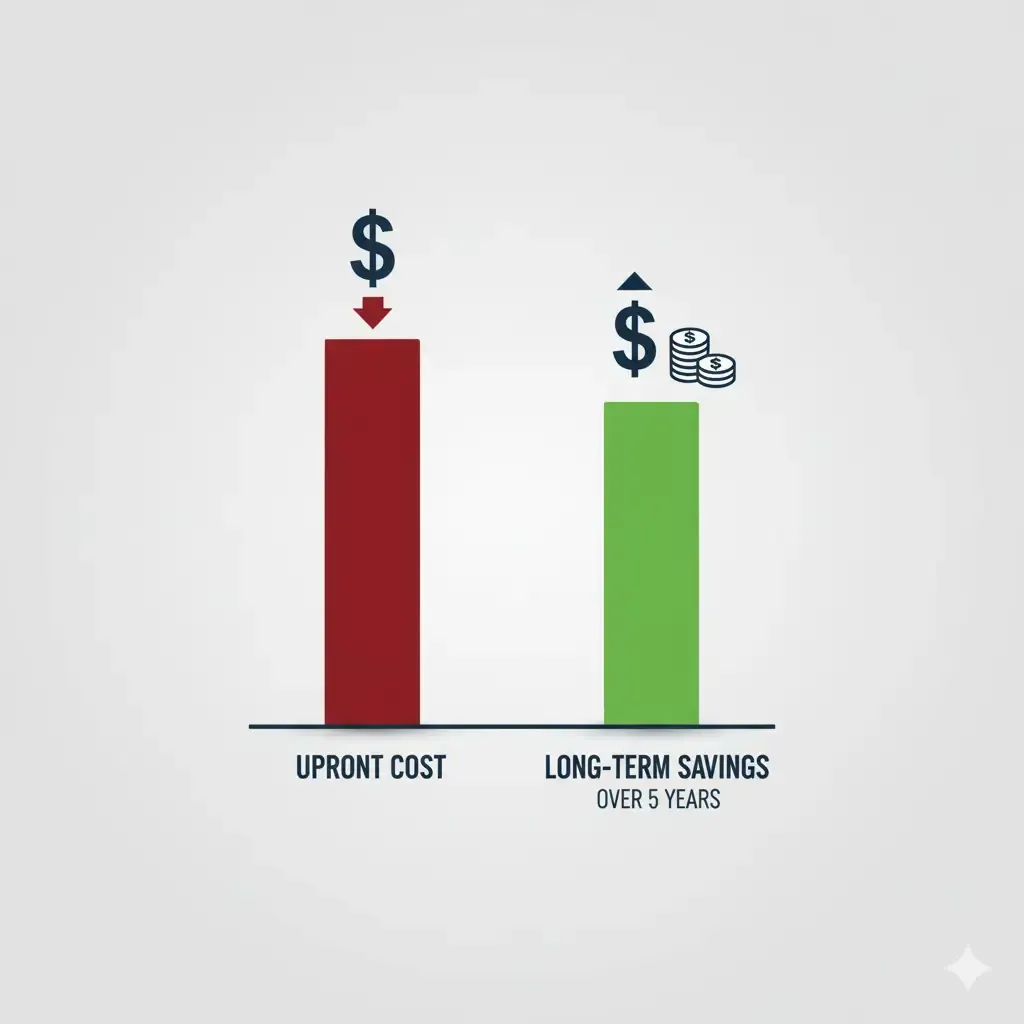
- DIY Cost: $25–$250 for the thermostat itself, depending on whether it’s digital, programmable, or smart.
- Professional Cost: Labor averages $150–$250, with hourly rates ranging from $40 to $150/hour.
Many utility companies offer rebates between $50 and $100 for ENERGY STAR–certified smart thermostats, making the upgrade more affordable.
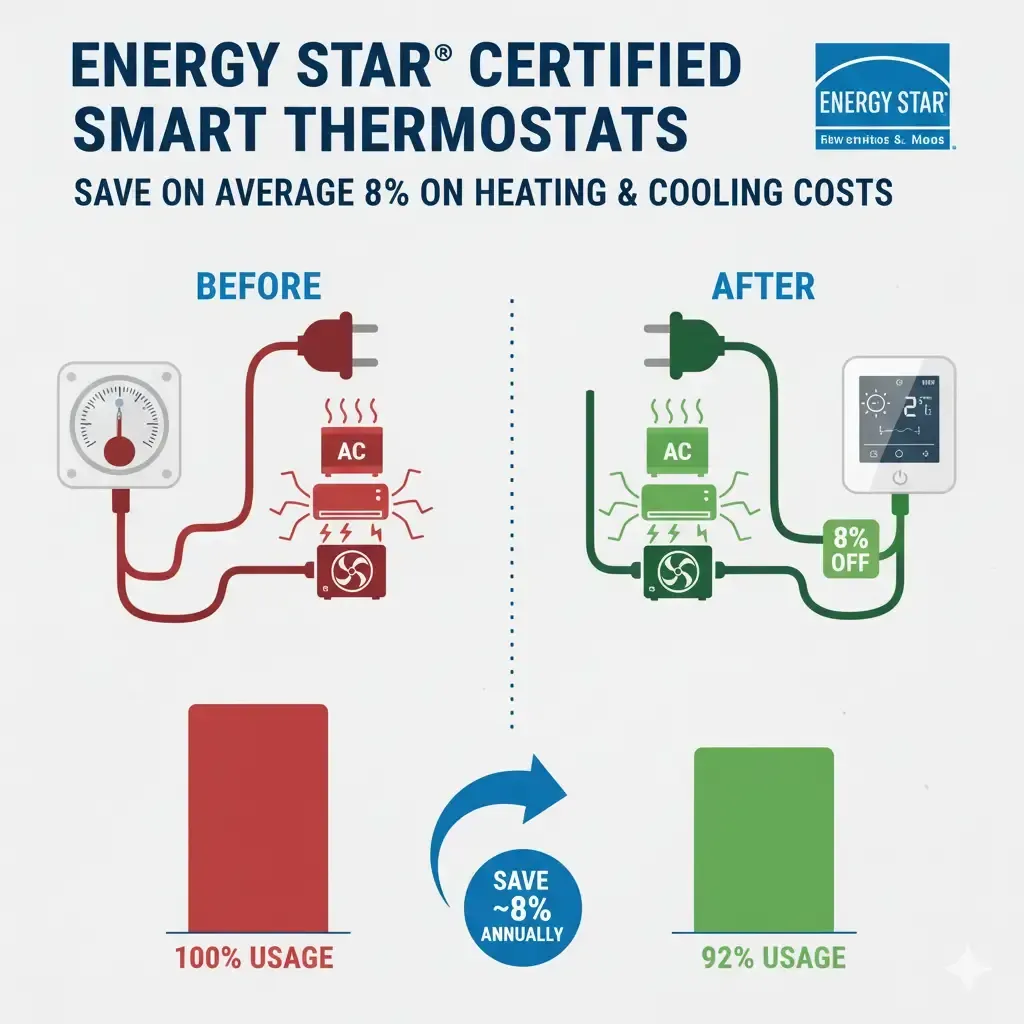
Do Thermostats Really Save Money?
Yes—when used properly, thermostats can cut your energy bills. Studies from ENERGY STAR show that smart and programmable thermostats can reduce heating and cooling costs by an average of 4% to 5% annually.
A well-installed thermostat keeps your system running efficiently, reduces strain on your HVAC components, and can extend equipment life.
For example, programming your thermostat to lower temperatures while you’re asleep or away can result in noticeable savings over time.
Smart Thermostats: The Future of Home Efficiency
If you’re considering an upgrade, smart thermostats are worth the investment. They connect to your home’s Wi-Fi and learn your temperature preferences automatically.
Modern models from brands like Honeywell, Ecobee, and Nest can:
- Detect when you’re home or away
- Adjust settings to save energy
- Provide detailed usage reports through mobile apps
However, these require stable Wi-Fi and often a C-wire connection. If you’re unsure, consult an HVAC technician to confirm compatibility before purchase.
Rebates and Energy Incentives
Many states and utility companies offer rebates and incentives for upgrading to energy-efficient thermostats. Check ENERGY STAR’s official rebate finder or your local utility website for updated offers in 2025.
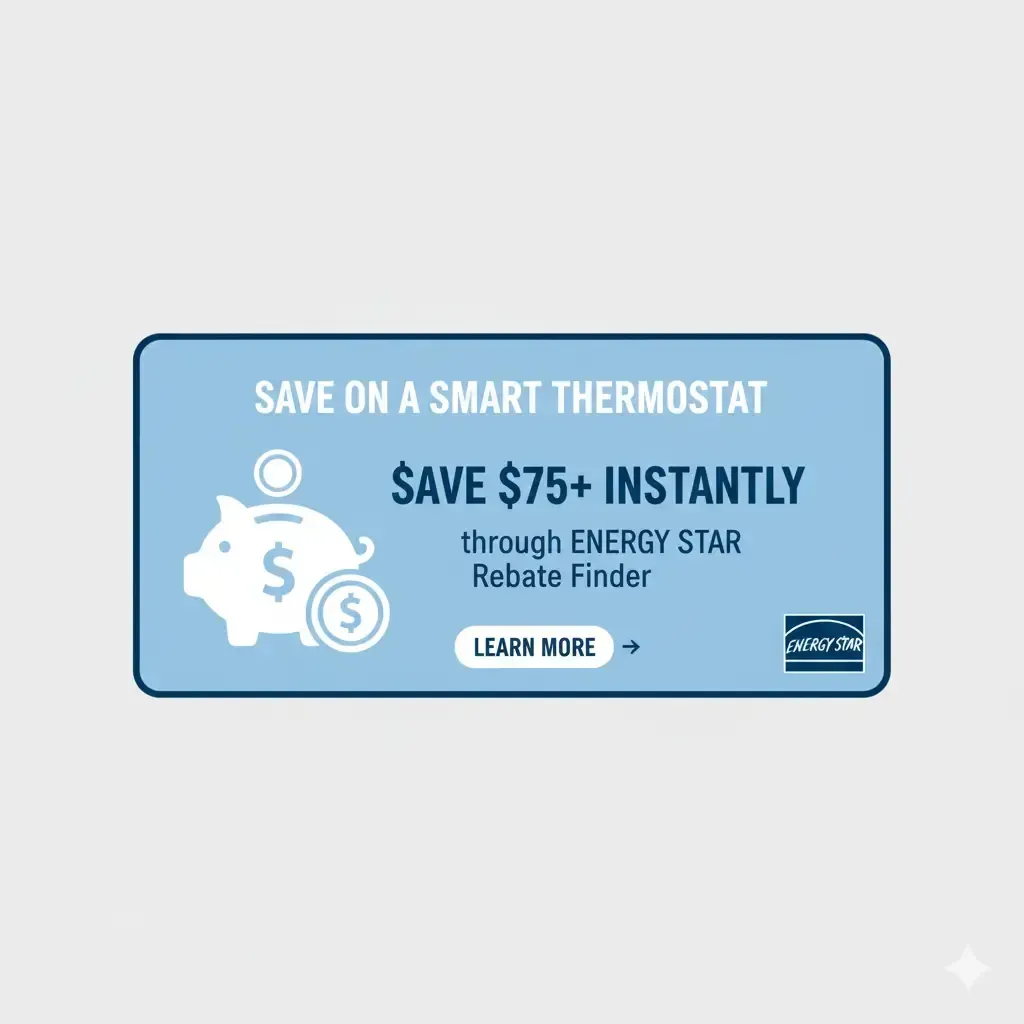
These programs not only help you save on upfront costs but also encourage environmentally responsible energy use.
When to Replace Your Thermostat
Even the best thermostats wear out over time. Here are signs it’s time for a replacement:
- System doesn’t maintain consistent temperature
- Frequent short cycling or long run times
- Blank or flickering screen
- Outdated manual controls or lack of programmability
Replacing an old mechanical thermostat with a digital or smart model improves accuracy and convenience—and prevents bigger issues down the road.
🔧 Conversational FAQs
Can I really replace my thermostat myself?
Yes, you can—if you’re comfortable using basic tools like a screwdriver, drill, and wire stripper. Most digital and programmable thermostats are designed for simple DIY installation. Just remember to power down your HVAC system at the circuit breaker before touching any wires. If your setup involves line-voltage wiring or a heat pump, it’s safer to call a professional.
What happens if I connect the thermostat wires incorrectly?
If the wires are mixed up, your furnace, air conditioner, or heat pump might not work as expected. You could end up with reversed heating and cooling or even blow a low-voltage fuse. That’s why I always tell car and home owners to label each wire before disconnecting and follow the wiring diagram in the user manual.
How long does it usually take to replace a thermostat?
For most systems, it takes between 30 minutes and 2 hours. If you’re upgrading to a smart thermostat or dealing with an older setup that lacks a C-wire, it might take a little longer. Always take your time with wiring—it’s better to go slow and get it right.
Do I need special tools to replace a thermostat?
You don’t need anything fancy—just a few basic hand tools like a Phillips screwdriver, flathead screwdriver, level, wire stripper, and maybe a drill for new holes. Having needle-nose pliers and a voltage tester on hand can make the job even easier and safer.
Is it worth upgrading to a smart thermostat?
Definitely. Smart thermostats help lower your utility bills by learning your temperature habits and adjusting automatically. Some can even detect when you’re away from home and switch into energy-saving mode. Plus, many utilities in the U.S. now offer rebates—often between $50 and $100—for installing ENERGY STAR–certified models.
My thermostat screen is blank—does that mean it’s broken?
Not always. Start by checking the batteries and breaker switch. If that doesn’t fix it, the issue might be a loose wire or a blown fuse in your HVAC control board. Replacing the thermostat often solves the problem, but if you’re unsure, have a professional check the wiring.
How do I know when to call a professional instead of doing it myself?
If you’re dealing with line-voltage systems, missing wires, or unclear labels, it’s best to call a licensed HVAC contractor. Professionals can also help you run a new C-wire or integrate your system with a smart thermostat. It’s worth the investment to avoid damaging your furnace or air conditioning system.
Will a new thermostat really save me money?
Yes, when installed and programmed correctly. A programmable or smart thermostat can help reduce energy waste by 4–5% annually, according to ENERGY STAR data. That means your HVAC system doesn’t run unnecessarily when you’re not home—saving both money and wear on the system.
What’s the safest way to test my new thermostat after installation?
Turn your HVAC system back on at the breaker and run both heating and cooling modes for a few minutes. Make sure the fan, furnace, and air conditioner respond correctly. If the thermostat display works but your system doesn’t, double-check the wiring connections—especially R, Y, and G terminals.
What should I do if my thermostat still isn’t working after replacement?
If you’ve confirmed the power is on, the wiring is correct, and the thermostat is compatible with your HVAC system, the issue may be with the control board or transformer. At this point, call a professional. At Austin Auto Repair, I’ve seen cases where the thermostat was fine, but a small fuse or relay in the HVAC unit caused the failure.
Safety Tips for a Smooth Installation
- Always power down at the breaker before touching wires.
- Label each wire clearly and double-check before reconnecting.
- Avoid forcing wires into terminals.
- Use the level when mounting for a clean finish.
- Keep the user manual and wiring diagram for future reference.
Following these steps reduces mistakes and ensures your installation is safe and professional.
Final Thoughts
Replacing a thermostat isn’t just about comfort—it’s about efficiency, control, and reliability. Whether you choose to take the DIY route or call a professional contractor, understanding the process empowers you as a car owner, homeowner, or enthusiast.
At Austin Auto Repair, I’ve seen how a small upgrade like this can make a huge difference in comfort and savings. My goal is to help you make informed, confident decisions about your vehicle or home’s systems.
So, if you ever need reliable guidance—or a trusted team to handle more complex repairs—remember that Austin Auto Repair is here to help you keep everything running smoothly and efficiently.